Inspection / Reverse Engineering
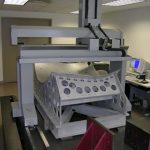
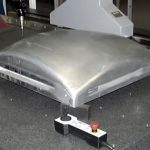
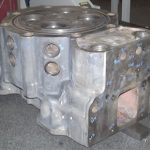
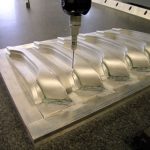
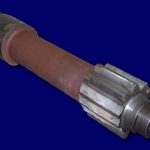
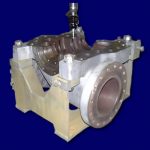
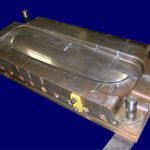
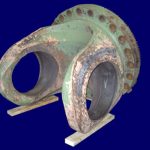
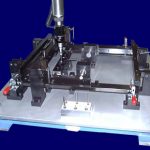
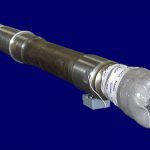
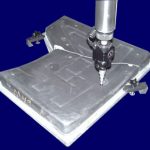
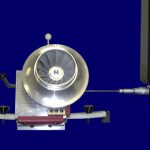
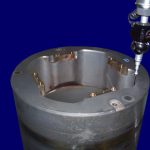
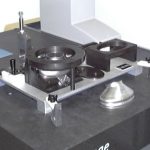
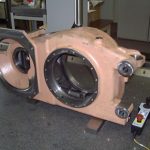
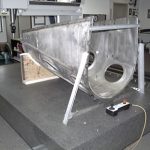
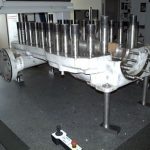
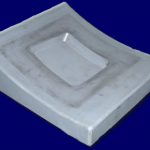
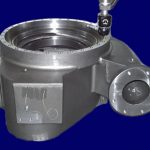
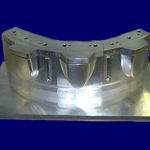
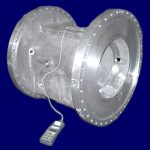
Through the use of our specialized measuring equipment listed below, Tooling Technologies offers a unique service to accurately create detailed three-dimensional drawings and models from digitized part data. The original part could be anything from an aircraft structural part to a production machine. Size can vary from as small as a dental pick to larger than a motorcycle die or a locomotive.
Additionally, all digitally extrapolated data can be applied to PC DIMS or any of our software packages, i.e., PRO E, Unigraphics, Solidworks, etc.
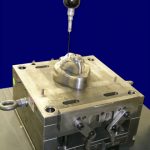
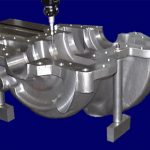
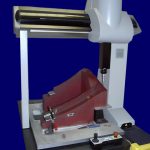
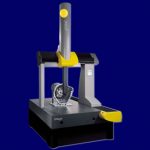
Brown & Shape Validator
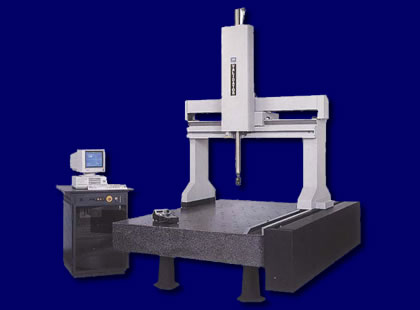
X = 48″
Y = 72″
Z = 36″
4th Axis Indexing
*CMM Machines are calibrated annually to NIST
Brown & Shape Global Image
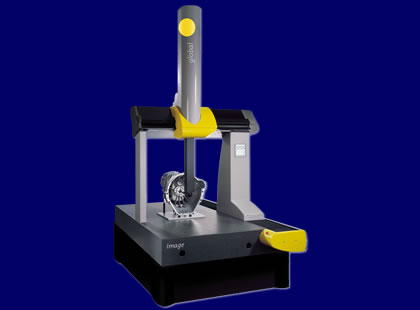
X = 27″
Y = 27″
Z = 27″
*CMM Machines are calibrated annually to NIST
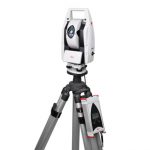
Leica AT401 3D Laser Tracker
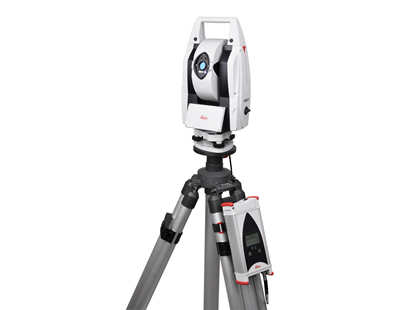
Working Volume = 1050 Feet
Infinite Vertical Rotation = +/- 145 Degrees
Horizontal Rotation = 360 Degrees
ADM Accuracy = +/- .00039 Inch
*Laser Tracker calibrated annually to NIST
Brunson Optical Inspection
• Brunson optical jig transits, levels and scales with portable stands have standard measurement accuracies of .001 inch over seventeen feet.
Romer Arm & Scanner
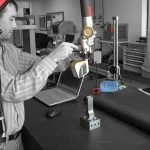
• Portable Romer Arm with 60″ measurement radius. The system also incorporates the latest in laser scanning technology.
Gage Laboratory
• 48″ x 72″ surface plate, height sets, comparator, ball bars, gage blocks, gage pins, etc.
• Rockwell Hardness Tester
• Surftest Profilometer
Whether it’s a high volume automatic automotive application or the development of a uniquely specialized process, TTI is willing and able to pursue any challenge.

